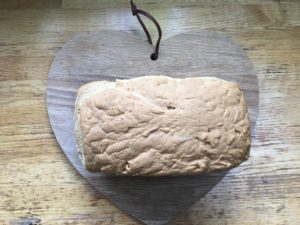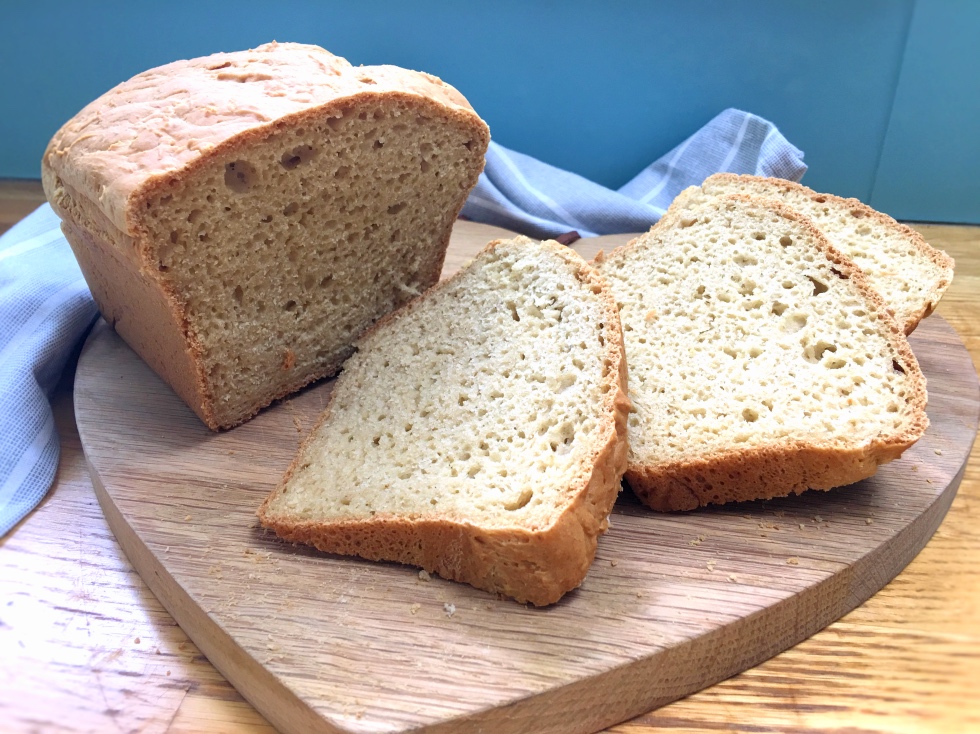
Servings: slices
Ingredients
- 325 ml almond milk or any plant-based milk
- 20 grams psyllium husk
- 7 grams dried yeast
- 1 tbsp honey
- 1 tbsp apple cider vinegar
- 60 ml extra virgin olive oil
- 2 large eggs
- 500 grams gluten free plain flour
- 1.5 tsp sodium bicarbonate
- 1 tsp seasalt
Instructions
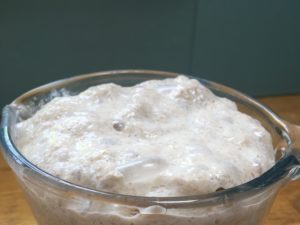
- Place the milk in a jug and add the psyllium husk and give it a good stir. Leave for 15 minutes.
- After the 15 minutes have gone by heat the milk/psyllium husk mixture until it is lukewarm. Take off the heat and add the honey and yeast and stir well. Leave for 10 minutes.
- In a separate bowl add the apple cider vinegar, eggs and extra virgin olive oil and beat for a minute. If you have a food processor like a Kitchen Aid then use the paddle to do the beating.
- Add the milk mixture into the vinegar/egg/oil mixture and mix for a minute either by hand or a food processor.
- Add the flour, salt and sodium bicarbonate to the wet mixture and mix by hand for about 3 minutes or for about one minute in a food processor. We are trying to make sure that the mixture is well combined and smooth.
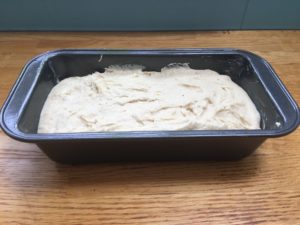
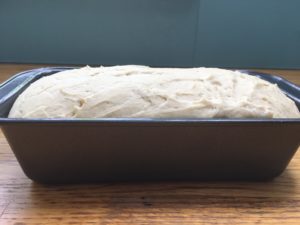
- Grease a 1lb loaf tin with oil and place the mixture in the loaf tin. Leave in a warm place for 20 minutes. Don't let the dough rise too much above the top of the tin - it will do most of its rising in the oven. Also, make sure the top is smoothed out - it won't smooth out during cooking.
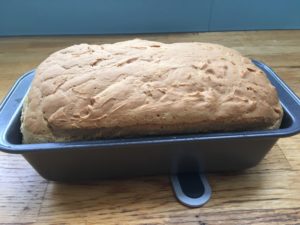
- Heat your oven to 175 degrees centigrade or if you have a fan oven then reduce the temperature to 155 degrees centigrade.
- Place the loaf tin containing the mixture in the lowest part of the oven and cook for 35-40 minutes. If it starts going too brown on top just place some tin foil over the top of the bread shaped like a tent.
- Once you remove it from the oven let it cool just for a couple of minutes only and then tip the bread out on a wire rack on its side. Let is cool completely before cutting - this is a crucial part so please don't rush it, irresistible though it may seem :)